How To Set Up Your HydroBucket DWC Hydroponics System
And make growing with Deep Water Culture hydroponics as easy as baking a cake.

Step By Step DWC Hydroponic Growing
Deep Water Culture (DWC) is an efficient and straightforward way of cultivating plants. In this guide, we will walk you through the essential steps of setting up and maintaining a HydroBucket DWC hydroponics system, providing invaluable tips and advice along the way.
Setting Up
Indoor VS Outdoor
While outdoor growing has its merits, indoor growing provides several significant advantages, making it an ideal choice for many growers.
- Year-round growing: With indoor growing, you can maintain a lush garden regardless of the season. It's especially beneficial for growers in regions with harsh winters.
- Controlled environment: Indoor growing allows you to optimize environmental conditions for superior growth and yield.
- Discretion: With proper setup, including odor control with carbon filters, indoor growing can be a very private endeavor.
Lighting: Artificial & Natural
LED grow lights have revolutionized indoor growing. These lights offer tailored light spectrums and are more efficient and less heat-producing than traditional lighting options. Opt for full-spectrum and dimmable LED lights for the best results from seed to harvest. As a rule of thumb, use 150 LED Watts per 2ft/sq of canopy for flowering, and less for seedlings and veg.
Grow Tents
Grow tents provide a controlled environment for indoor growing. They help regulate temperature and humidity and offer total darkness when needed. For maximum discretion and yield quality, controlling light cycles, scent, humidity, and temperature is crucial.
Ventilation/Odor Control
Ensuring good air exchange is vital for indoor growing. A combination of temperature controllers and inline fans is commonly used for ventilation. Exhaust air can be directed outside or to a space that would benefit from the increased humidity and temperature. If you need to manage odor, add a carbon filter to your setup.
Water Quality
High-quality water is essential for hydroponics. Municipal town water or a source with a Total Dissolved Solids (TDS) range between 0ppm to 400ppm works well. If your source water has a higher TDS, consider testing it or using a Reverse Osmosis (RO) filtration system. Control the pH of your nutrient solution (ideal range: 5.7ph-6.1ph) using acids and bases available from grow equipment suppliers.
Fertilizer & Adjusters
When selecting fertilizers and adjusters for DWC, opt for fully soluble products to prevent root issues. Your chosen solution must also include enzymes to protect against root rot, or you should run a sterile solution. Some successful growers recommend a combination of products such as Monosilicic Acid, NPK Base Fertilizers, Calcium Magnesium, Miicrobial Mass, Chitosan, Hygrozyme, and Fish Shit.
Monitoring Equipment
Optimum growth conditions vary depending on the growth stage. You'll need an accurate thermometer and humidistat, and a light timer. More advanced environmental controllers can automate and monitor various environmental parameters. Optional equipment includes wifi cameras, smoke alarms, and flood alarms.
Grow Room Safety
Safety is paramount when setting up your grow room. Keep all electrical points above waist height to avoid potential water-electricity hazards. Use GFCI outlets for added protection. Always wear eye protection and gloves when handling concentrated products. Avoid exposure to high-intensity light, especially before bed, to prevent disturbances to your Circadian Rhythms. Consider adjusting your light schedule or using a green light to protect your sleep cycle.
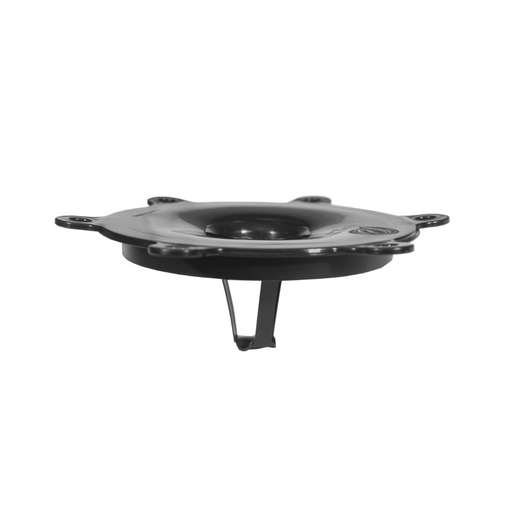
Looking After Your HydroBucket: Basics
Aerating: Why & How
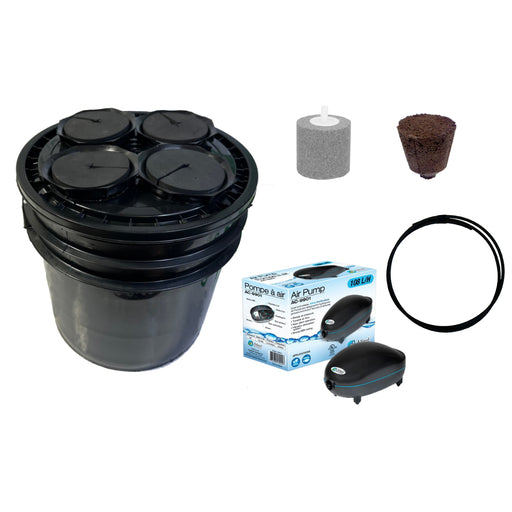
The nutrient solution in your HydroBucket must be aerated to maintain a high level of oxygen in the solution. This is accomplished by adding an airstone to each HydroBucket, powered by an air pump.
- Recommended Airstone: A 5cm x 5cm cylindrical airstone. This design fits well in the side reservoir while maintaining air-fluid contact even with low fluid levels.
- Airline: A firm, black airline is preferred to keep light out and deliver maximum air to the airstone. Soft, flimsy airline delivers less air to the airstone. Firm airlines can be longer in length while still delivering air effectively.
- Air Pump: Most air pumps will work, including pet store style air pumps. However, it's recommended to buy the best hydroponic air pump you can afford, rated by Gallons Per Hour - the more, the better.
Note: Be aware that the temperature of the air which the air pump draws will strongly influence the temperature of your nutrient solution. For that reason, it's advisable to keep your air pumps outside of your grow tents where they can access cooler air. Also, regular checks on the airstones are necessary to ensure a high air flow is being delivered to the nutrient solution.
Filling, Adding Nutrients, Checking pH & TDS
Filling the HydroBucket, adding nutrients, checking pH and TDS levels are all essential steps in maintaining your hydroponic system.
- Filling: Filling your HydroBucket should be done with water that is within an acceptable TDS range (0-400ppm).
- Adding Nutrients: Adding nutrients should be done carefully to ensure they are fully soluble to avoid root rot.
- Checking pH: The pH of the nutrient solution should be controlled with acids and bases, ideally maintaining it within the range of 5.7-6.1.
- Checking TDS: Regular checks on the TDS level are important to ensure that the water being used is not already filled with ingredients to its maximum acceptable level.
How To Grow Crops in Your HydroBuckets
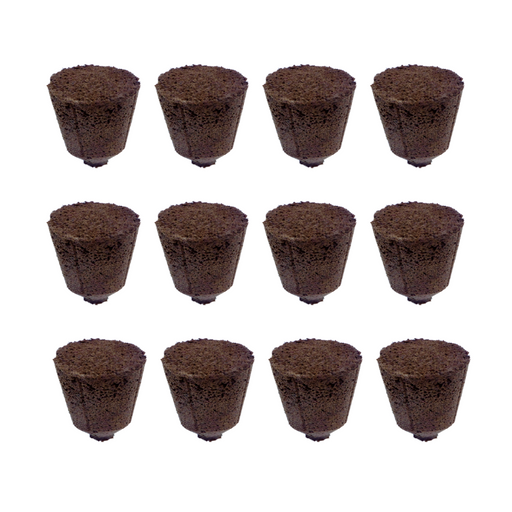
Propagation
Propagation can occur through seeds or clones. The environmental conditions during propagation should be maintained as follows:
- Temperature: 75-85 F
- Humidity: 65-90%
- TDS/EC: 500 PPM/ 0.5 EC Veg Nutrients
- pH: 5.8-6.3
- Lighting: 18-24 hrs for most plants 65-100 uMols
- Air Movement: minimal
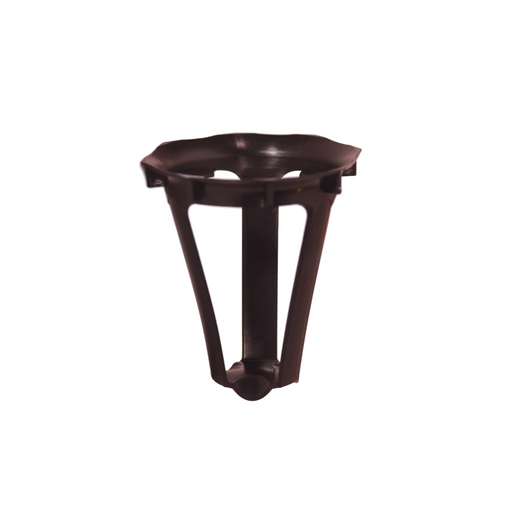
You can start directly in the HydroBucket system or use propagation domes to the HydroPod/HydroLid or Net Basket.
PreVeg
The PreVeg phase is a critical stage for building a robust structure for your plants. In this stage, your plant will begin to form branches and more complex leaf structures.
- Temperature: Maintain a range of 70-85 F for optimal growth.
- Humidity: Maintain relative humidity around 55-70% to encourage healthy plant growth.
- TDS/EC: A range of 600-800 PPM or 0.8-1.2 EC is ideal.
- pH: Keep the pH within a range of 5.8-6.3.
- Lighting: Provide 18-24 hours of light per day at an intensity of 200-400 uMols.
- Air Movement: Ensure good air movement to strengthen the plant's stem and promote more robust growth.
Veg
The Vegetative stage is when your plant will do most of its growing. In this stage, you want to encourage healthy, robust growth to prepare for the flowering stage.
- Temperature: Maintain a range of 65-80 F for optimal growth.
- Humidity: Lower the humidity to 40-60% to prevent the growth of mold and other pathogens.
- TDS/EC: A range of 800-1200 PPM or 1.2-1.6 EC is ideal.
- pH: Keep the pH within a range of 5.8-6.3.
- Lighting: Continue providing 18-24 hours of light per day at an intensity of 400-600 uMols.
- Air Movement: Ensure good air movement to keep the plants healthy and prevent disease.
Flower
The Flowering stage is when your plants begin to produce flowers. In this stage, your focus should shift towards maintaining optimal conditions for flower production.
- Temperature: Lower temperatures to a range of 65-75 F to encourage flower production.
- Humidity: Lower the humidity further to 40-50% to prevent mold and bud rot.
- TDS/EC: A range of 1000-1600 PPM or 1.6-2.2 EC is ideal.
- pH: Keep the pH within a range of 5.8-6.3.
- Lighting: Switch to a 12/12 light/dark cycle at an intensity of 600-900 uMols to trigger flowering.
- Air Movement: Continue to ensure good air movement to keep the plants healthy and prevent disease.
Remember, your HydroBucket's success hinges on maintaining these parameters and vigilantly checking for pests, disease, and nutrient deficiencies. Happy growing!